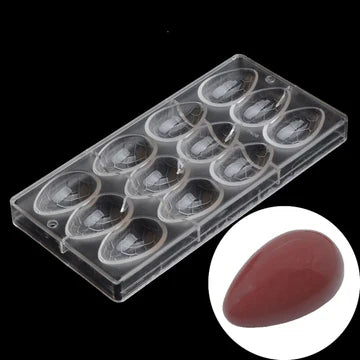
Easter Egg Shaped Chocolate Mold 19270 | 19272 | 19273 | 19291
Easter Egg Shaped Chocolate Mold 19270 | 19272 | 19273 | 19291
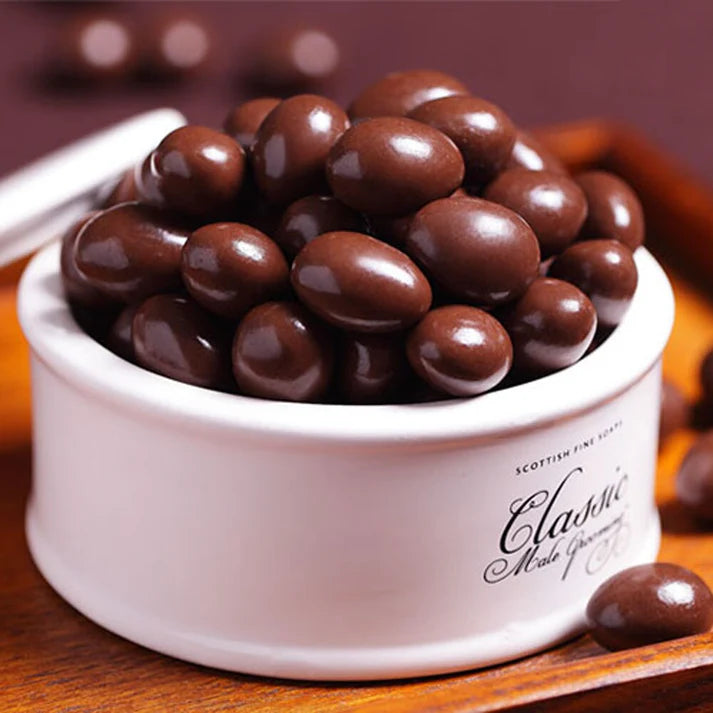
Create stunning Easter treats with our premium chocolate egg molds! This collection features 4 exquisite Easter egg molds in large and giant sizes, perfect for crafting show-stopping egg desserts. Made from durable polycarbonate plastic, these molds ensure easy release and flawless chocolate egg shapes. Ideal for Easter celebrations, our egg mold designs pair beautifully with basket decorations, adding festive charm to your creations. Shop now to elevate your chocolate egg-making game with these high-quality chocolate egg molds!
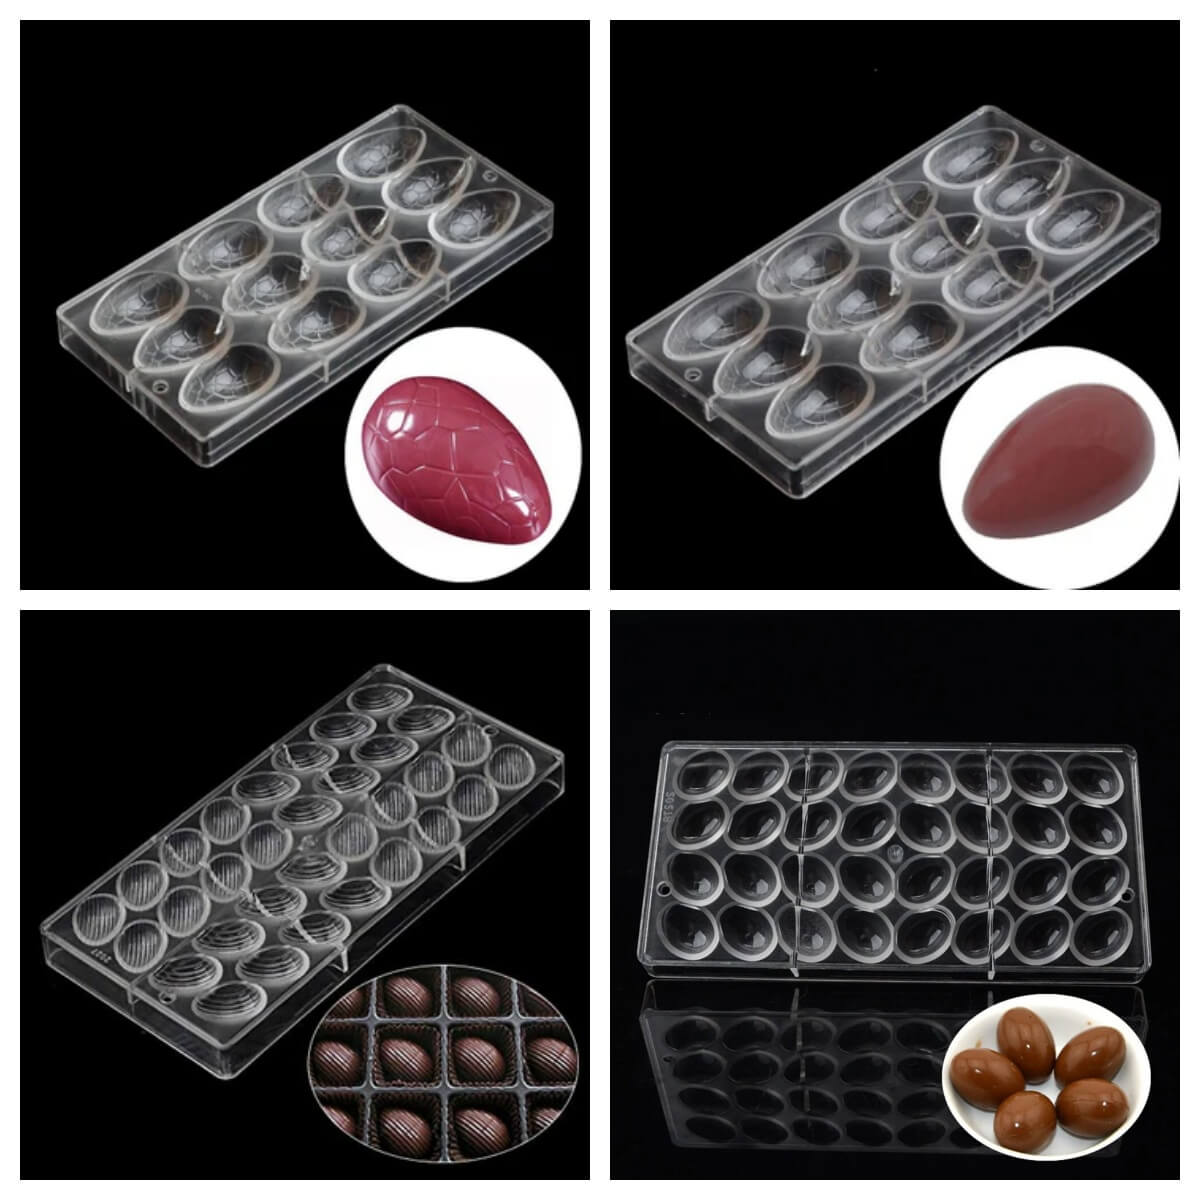
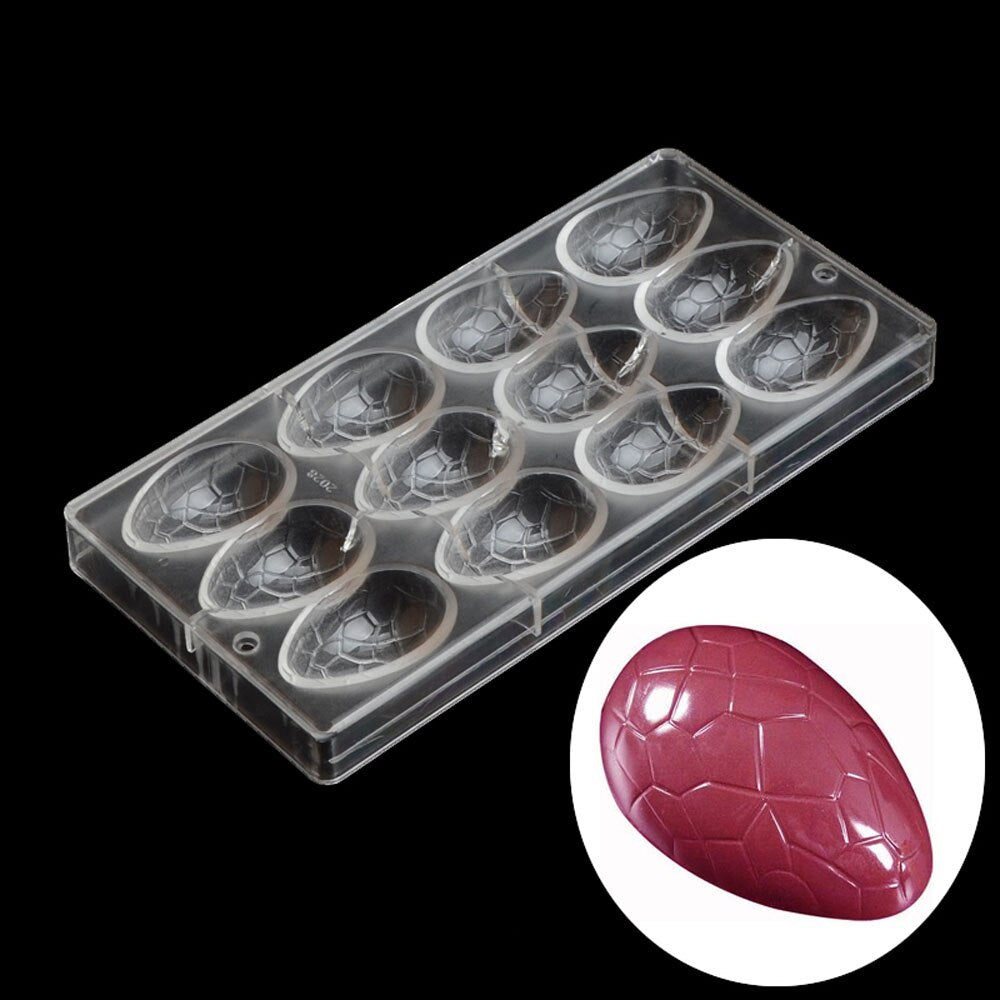
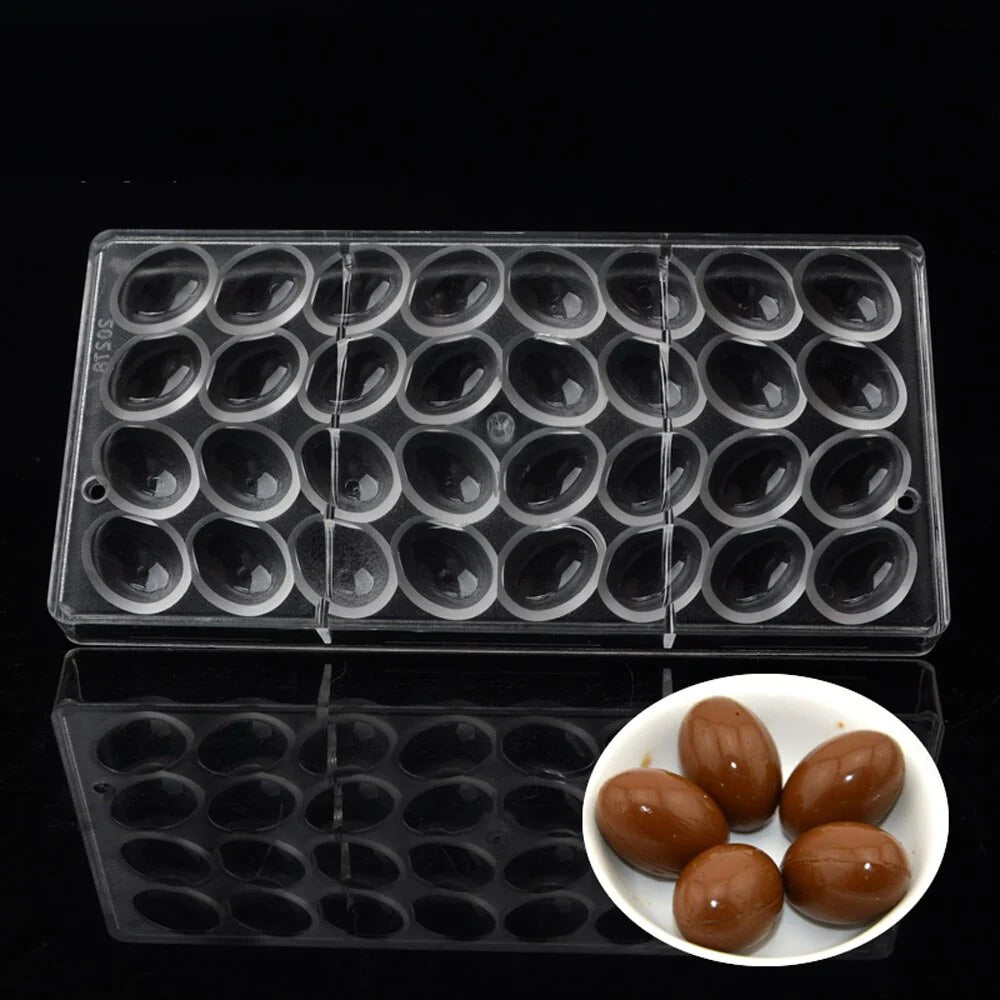
19270 | easter egg chocolate mould
Mold Size : 27.5* 13.5 * 2.4 cm / 10 3/4 x 5 1/4 x 1 inches (approx)
Cavity Size : 5.7*3.6*2.1 cm / 2 1/4 x 1 3/8 x 3/4 inches (approx), finished chocolate about 24 g/pc
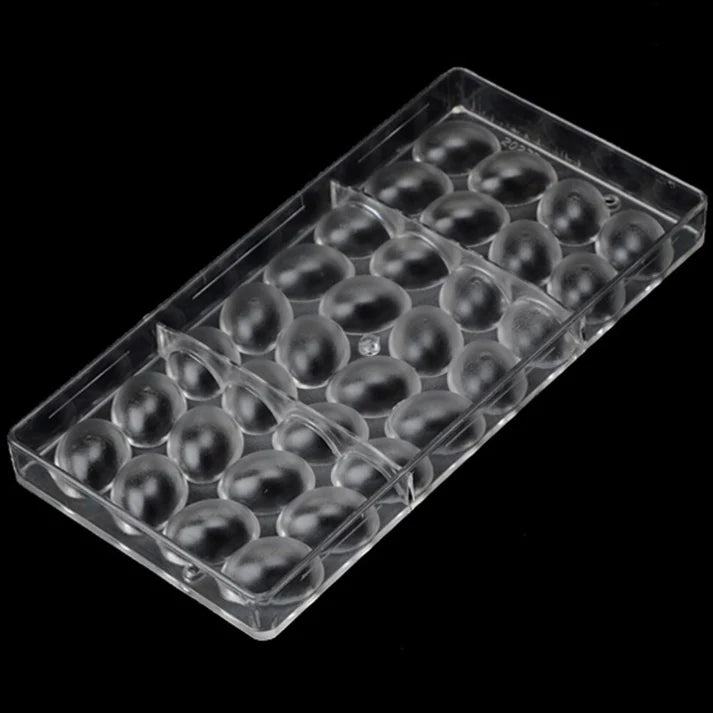
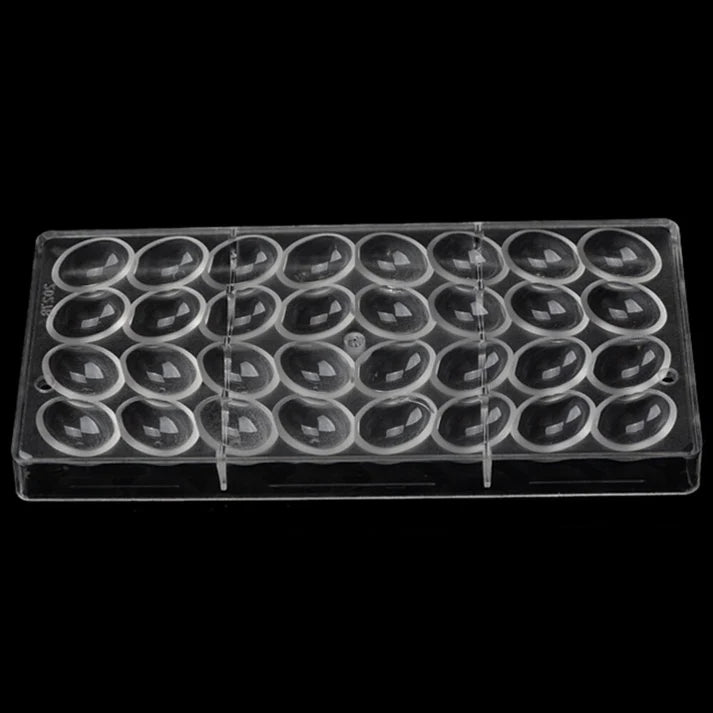
19272 / Small Smooth Easter Eggs Chocolate Clear Polycarbonate Mould
Mold Size : 27.5* 13.5 * 2.4 cm / 10 3/4 x 5 1/4 x 1 inches (approx)
Cavity Size : 3.2*2.3 cm / 1 1/4 x 7/8 inches (approx), finished chocolate about 12 g/pc
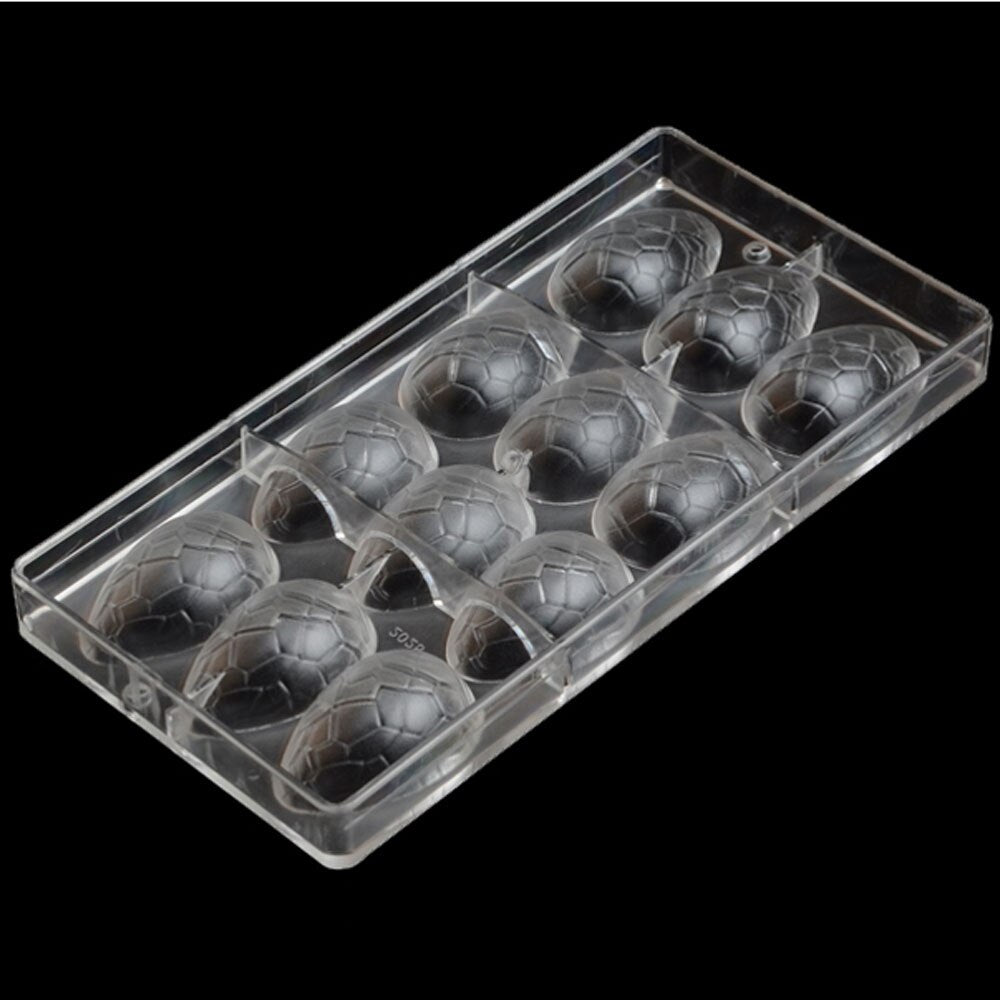
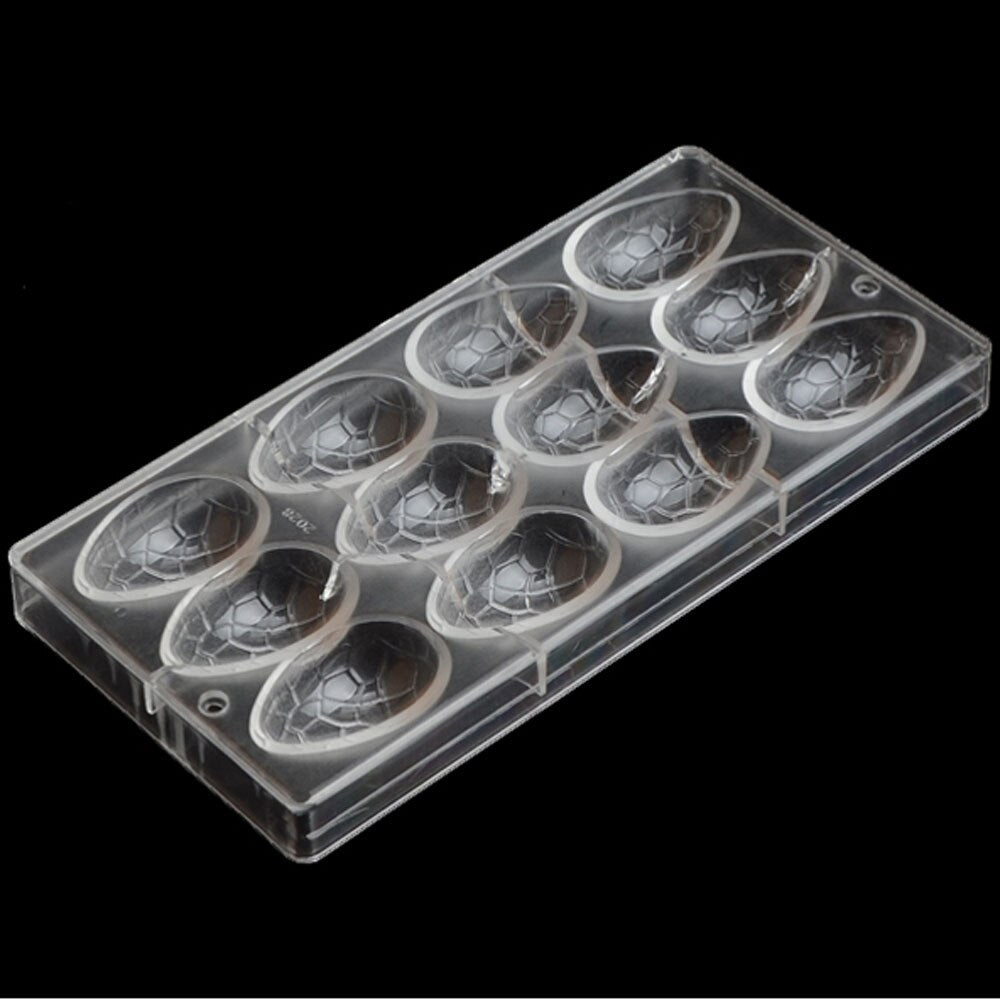
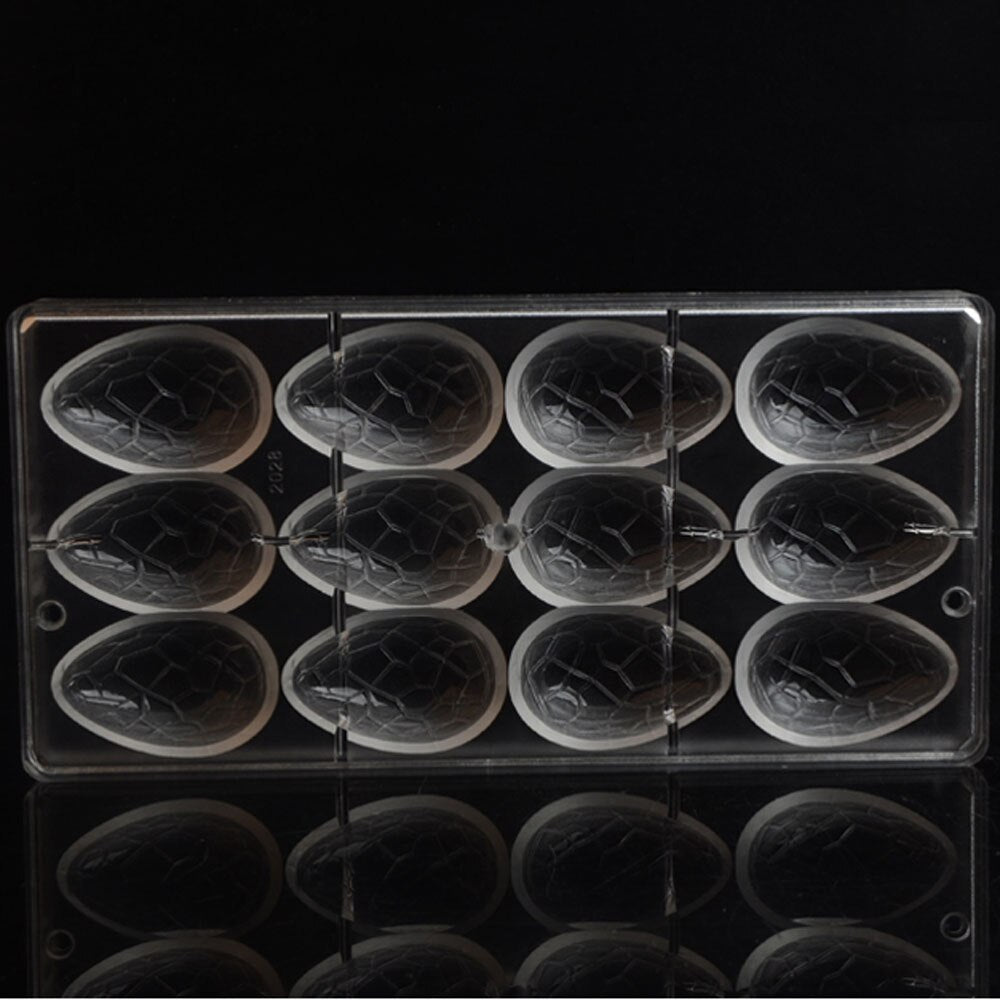
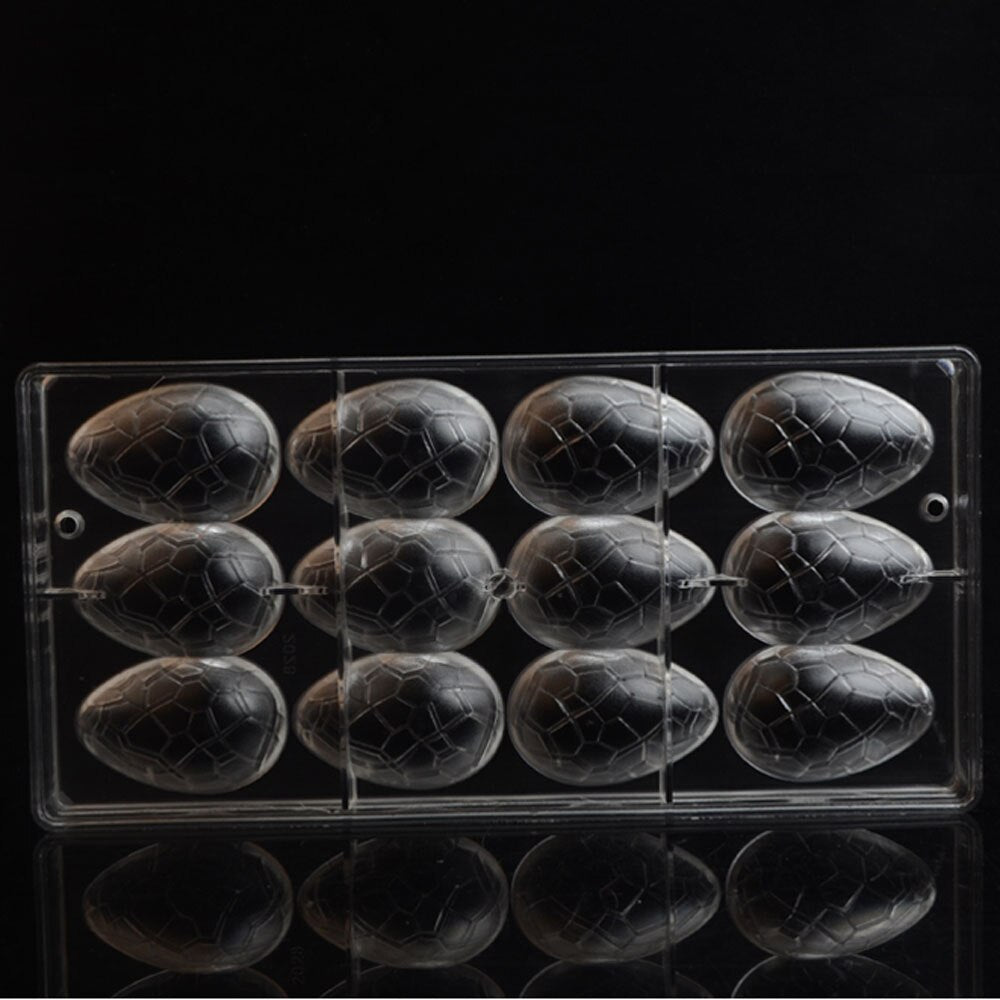
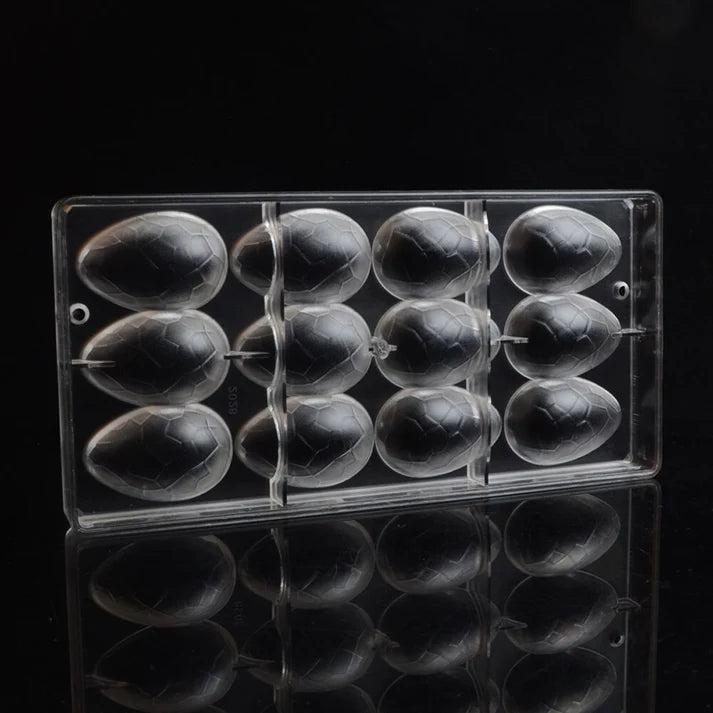
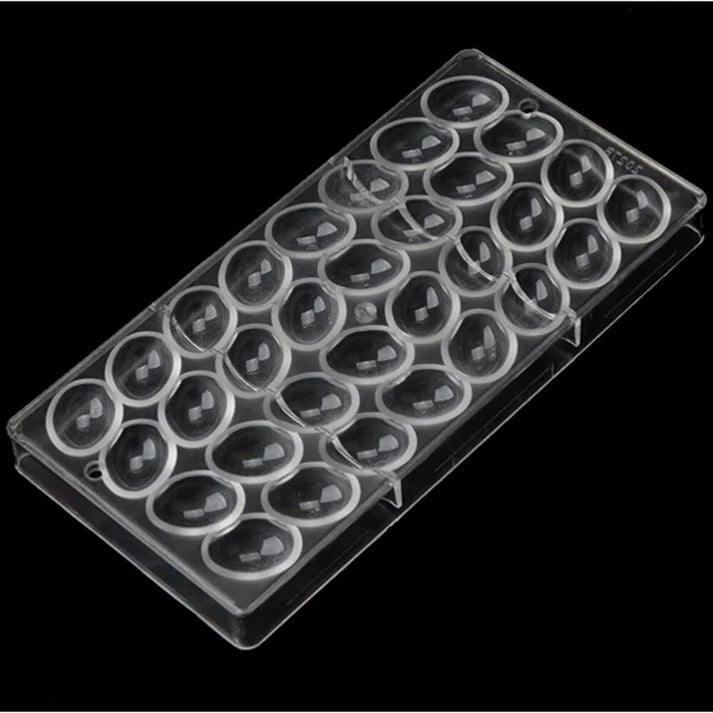
19273 | Easter Egg Shaped Chocolate Mold
Mold Size : 27.5* 13.5 * 2.4 cm / 10 3/4 x 5 1/4 x 1 inches (approx)
Cavity Size : 5.7*3.6*2.1 cm / 2 1/4 x 1 3/8 x 3/4 inches (approx), finished chocolate about 24 g/pc
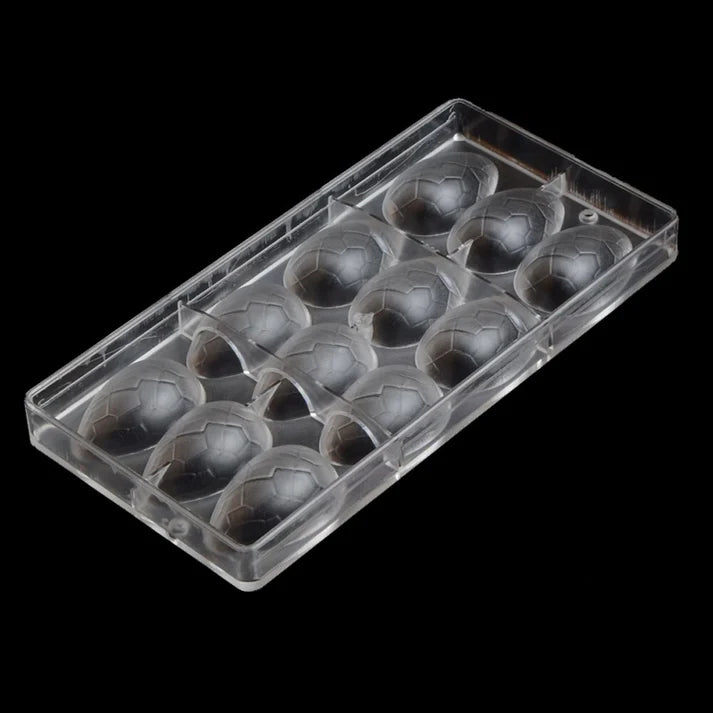
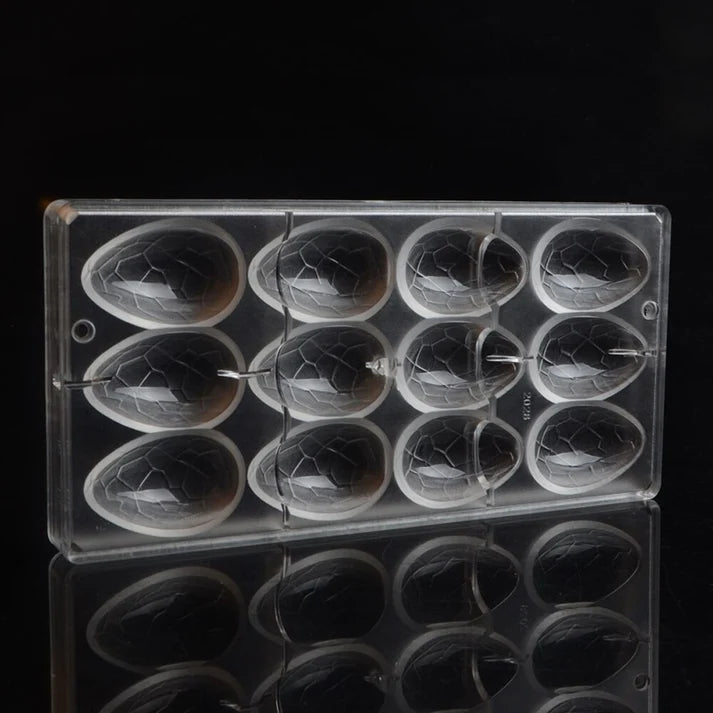
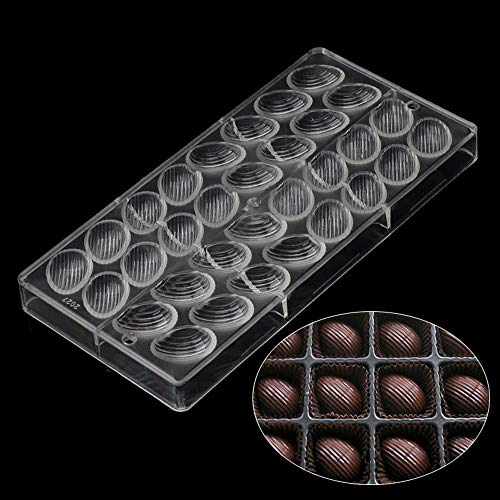
19291 / 3D easter Egg Thread Surface Polycarbonate Chocolate Candy Mold
Mold Size : 27.5* 13.5 * 2.4 cm / 10 3/4 x 5 1/4 x 1 inches (approx)
Cavity Size : 3.2*2.3 cm / 1 1/4 x 7/8 inches (approx);volume about 12 g
Material: Food Grade Plastic
Color: Clear
Package inside: 1 pc mold
Feature:
- Green Product, innoxious, no peculiar smell, fadeless;
- Material will not retain odors or flavors
- Easy to use and quick to clean
- Compliance with FDA/SGS
- Durable for long time use
- Please be attention, this is plastic mold, DO NOT use it in oven.
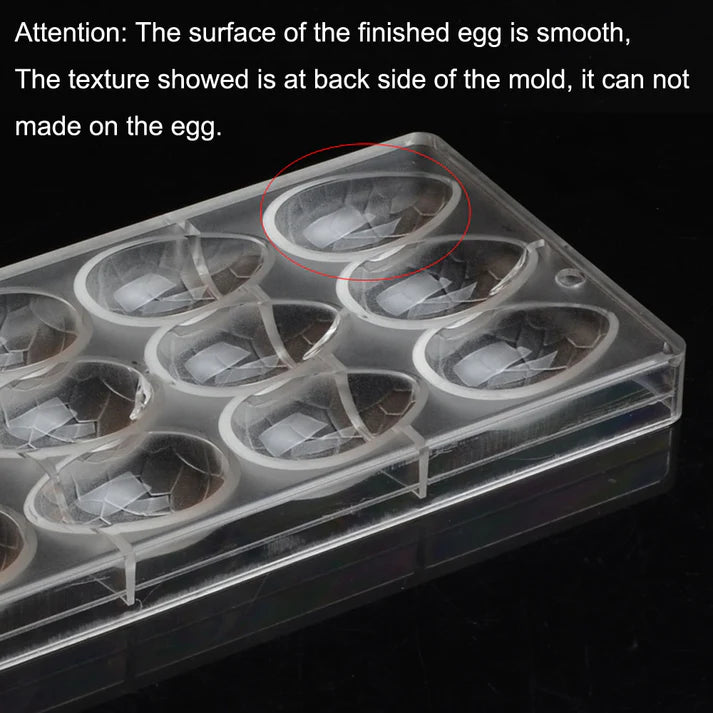
Attention:
The finished chocolate from the mold directly is half of the egg. To make the 3D egg, you need to stick each 2 half into one by liquid chocolate as a final step!
Couldn't load pickup availability
How to Use Polycarbonate Molds for Chocolate Making
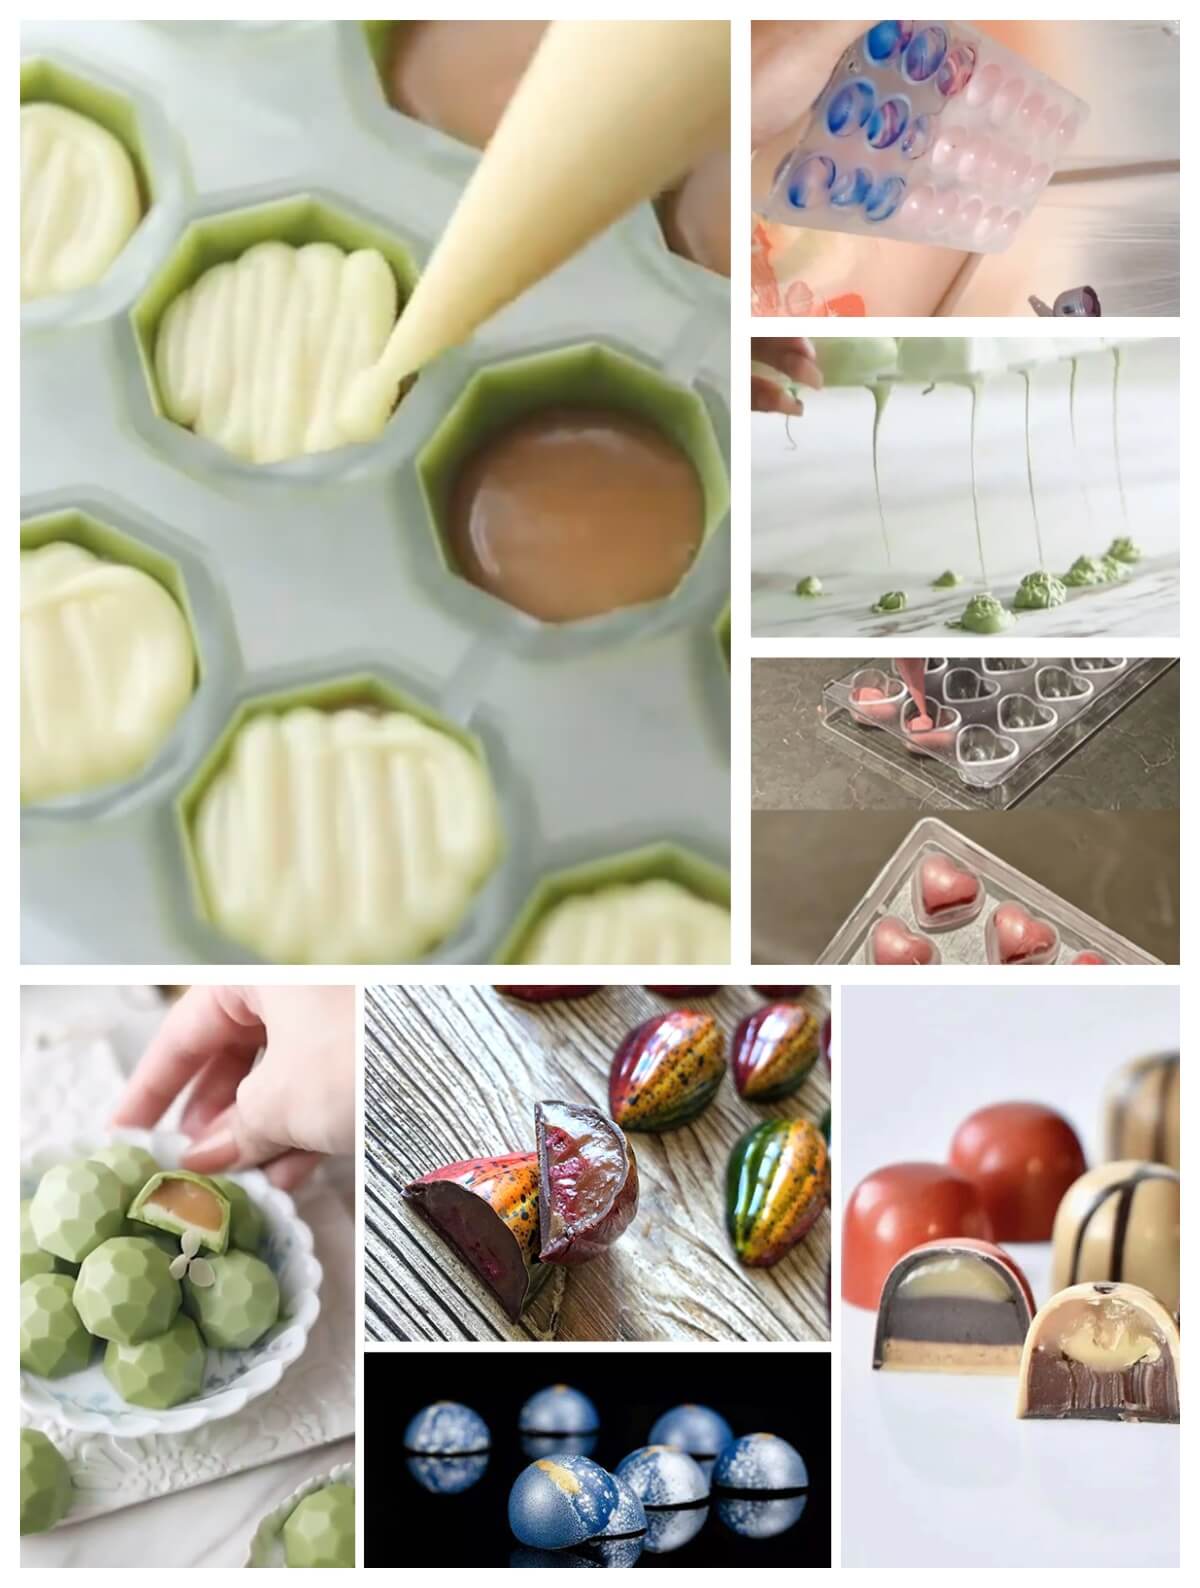
Step 1 : Clean and Dry
Clean the Polycarbonate Mold carefully and dry it. The tiniest bit of chocolate residue will give us an imperfect end result.
Step 2 : Heat the mold
Briefly heat the molds with heat gun, the temperature should be 2℃-4℃. It is to avoid cooling spots or grey dull stains on your chocolates.
Step 3 : Pour in the chocolate
Please ensure that all cavities are fully filled to the brim.
Step 4 : Scrap off the excess chocolate
Not only the surface, but also the sides. Leaving it nice and easy to clean.
Step 5 : Tap the side of the mould immediately.
Make sure to remove all air bubbles in the chocolate in this step.
Step 6 : Pour all excess chocolate back into the melter. And clean the surface again.
Clean the surface with the scraper again. And make sure that the chocolate is still wet now.
Place the mold on a piece of paper. Leave the chocolate to harden for about 5 minutes.
Step 7 : Pour in the various delicious fillings
Leave some space to surface. and then pour the chocolate liquid to seal it. Scrap the mold surface with the scraper again, leave the mold to freeze it again.
Knock the mold slightly, flat bottom chocolates with various filling would jump out.
Step 8 : Knock the mold slightly - Finished
Knock the mold slightly, flat-bottom chocolates with various filling would jump out.
Step 9 : 3D chocolate balls (Cubes, Eggs, Diamond etc) making from Step 7
In Step 7, fill the fillings full to surface, and freeze it.
Knock the mold slightly to make the chocolates jump from molds like Step 8.
Prepare more chocolate liquid to paste 2 pieces into a 3D ball or cube or other shapes. :)
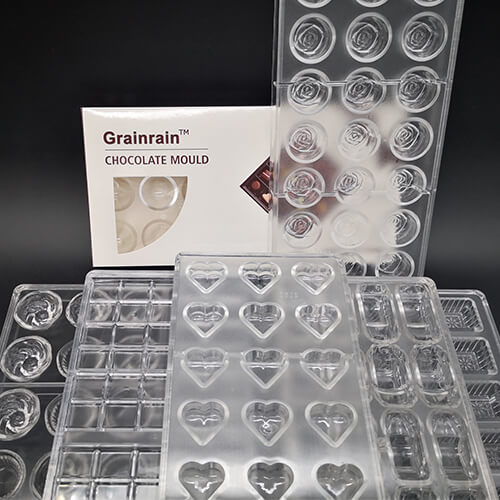
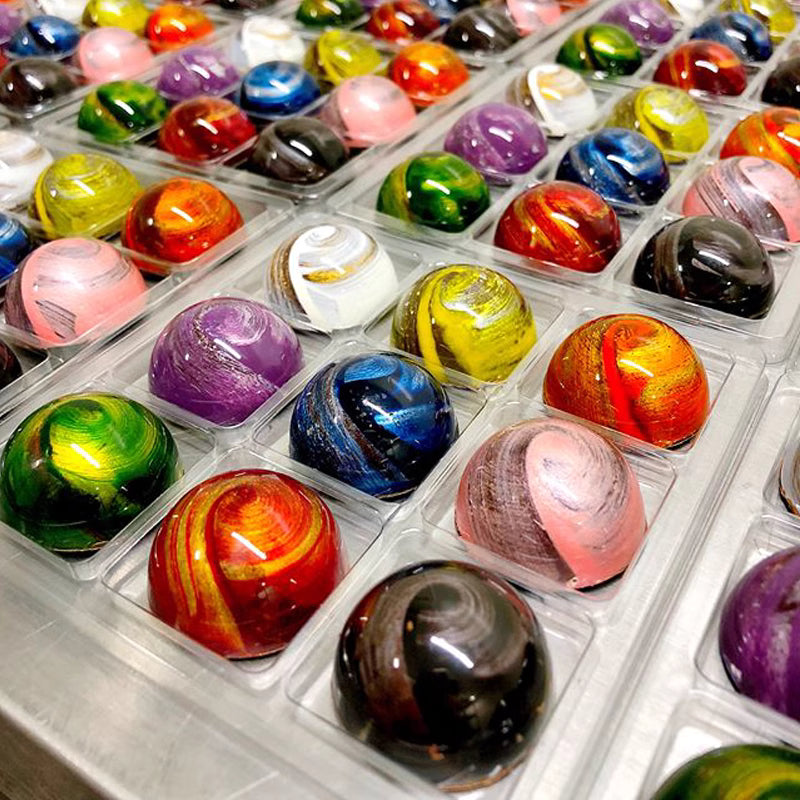
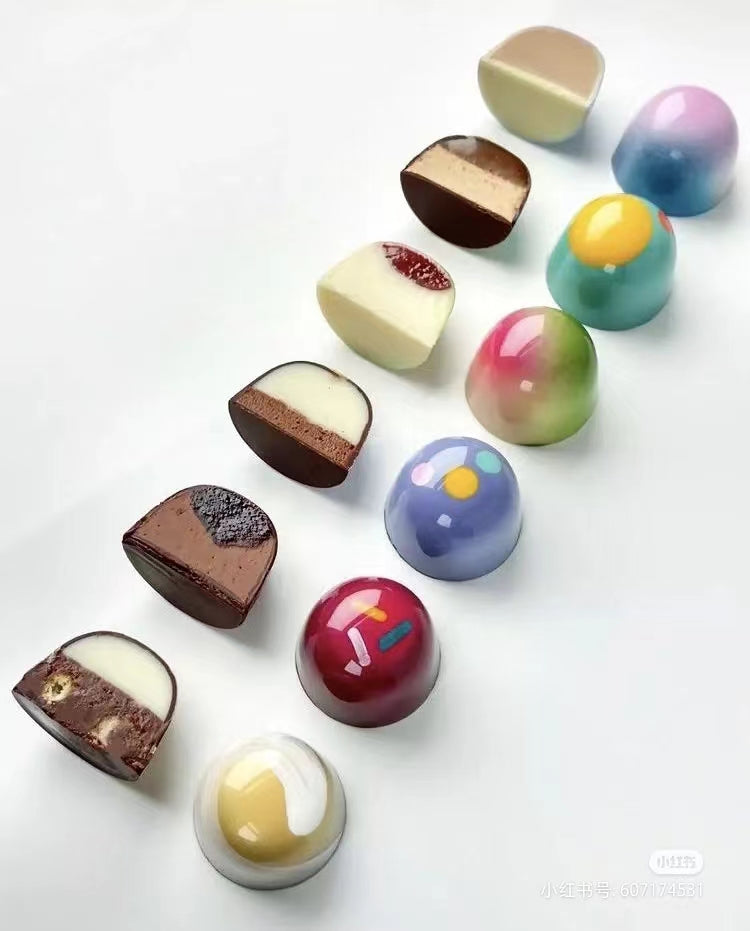
Advantages of Using Plastic Chocolate Molds
- High Transparency: Polycarbonate molds are transparent, allowing easy observation of the chocolate molding process and ensuring intricate designs.
- Glossy Finish: Imparts a smooth, glossy surface to chocolate pralines.
- Durability: Impact-resistant and wear-resistant, suitable for long-term use, reducing costs.
- Easy Demolding: Smooth surface prevents sticking, simplifying demolding and preserving chocolate integrity.
- Easy Cleaning: Resistant to grease, easily cleaned with warm water and mild detergent.
- Precision Molding: High hardness and stable shape, ideal for professional-grade chocolate crafting.
- Varied Designs: Supports customization, suitable for DIY chocolates, jellies, candies, and other frozen treats.
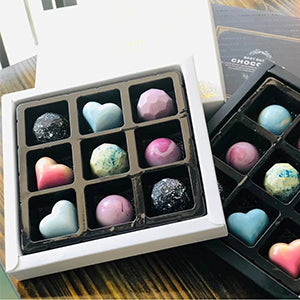
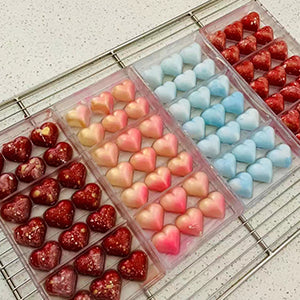
Everyone need a Chocolate Box
Use our polycarbonate chocolate molds to light up every holiday! From Christmas and Easter eggs to Halloween, Valentine’s hearts, Father’s Day ties, Mother’s Day flowers, or even Oscar statuettes and graduation caps, our molds make it easy to create. Durable material ensures perfect demolding, with fine details making every chocolate a festive highlight. Whether it’s a party, baptism, or Hanukkah, enjoy DIY fun and create sweet memorie.